Selling at the counter
POS / New sale
Sell at the counter with a barcode scanner, weigh loose items, give discounts, take cash, bKash, card or split payments, leave a due and print the receipt.
Who it is for:CashierManagerOwner
On this page
The POS screen is where you sell at the counter. It is built for a USB barcode scanner and the keyboard, so you rarely need the mouse. This chapter takes one sale from start to finish and then covers everything around it.
Open the POS
Go to Overview › POS / New sale. You can't sell without an open cash shift. If you don't have one, the screen shows Open cash shift:
- Count the cash in the drawer.
- Type it in Opening cash (৳).
- Click Open shift.
See Cash shifts for closing the shift at the end of the day.
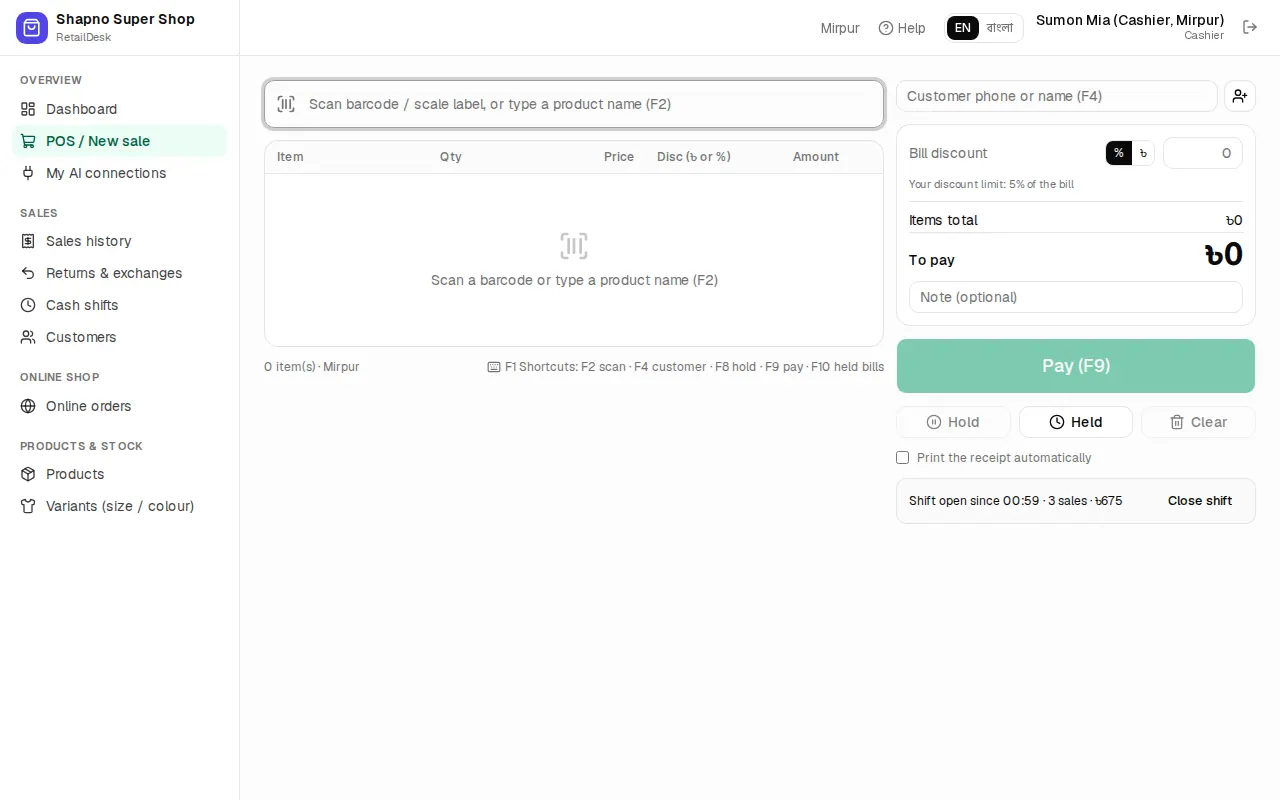
The left side has the scan box and the bill. The right side has the customer, the discount, the totals and the Pay button.
Make a sale step by step
- Scan the product's barcode. The scanner types the code and presses Enter for you, and the item lands on the bill.
- No barcode? Press
F2, type part of the name (for example lux or rice), move with the arrow keys and pressEnter. - Scanning the same item again adds one more. To change the quantity, click Qty on the line or use the + and − buttons.
- Optional: press
F4and pick the customer. - Press
F9or click Pay. - Check Cash received and press Complete sale (Enter).
- Sale … saved shows the Change to give. Press
Pto print the receipt orEnterto start the next sale.
Loose and weighed items
Rice, lentils, oil, cloth and other items sold by kg, litre or metre open a small window when you add them:
- Weight / quantity (kg): type the weight, for example
1.5, or use the quick buttons 250 g, 500 g, 1, 2, 5. - Amount (৳): type how much money the customer wants, for example ৳100 of rice. RetailDesk works out the weight.
Press Add (Enter). On the bill, + and − change a loose line by 0.25.
Weighing-scale barcodes
If your weighing scale prints barcode stickers, RetailDesk can read them. The sticker starts with the scale prefix (for example 21 or 22), then the item's code on the scale (PLU), then the weight in grams or the price in Taka. Scan the sticker like any other barcode and the line is added with the right weight or amount.
To use it, the owner turns on Read scale barcodes at the counter in Admin › Printers, labels & scale, and each loose product gets its Scale PLU code (see Products).
Sizes and colours
Every size and colour of a style is its own item with its own barcode, for example Polo shirt - M / Black. Scan the tag, or search by the style name and pick the right size and colour from the list. See Variants.
Discounts
- Disc (৳ or %) on a line: type
50for ৳50 off, or10%for ten percent. A percent discount follows the line: change the quantity, weight or price and the discount is worked out again. A Taka discount stays the same amount. - Bill discount on the whole bill: switch between % and ৳.
- Price: only a manager or the owner can change the price on a line.
Each role has a discount limit, set by the owner in Settings › Counter (POS) rules. Under the discount you see Your discount limit: N% of the bill. The limit counts line and bill discounts together. Above it, a red note says Discount is more than the N% your role may give. Ask a manager. and Pay stays off until a manager or the owner sells it. The owner has no limit.
Customers, wholesale price and loyalty
Press F4 or click Customer phone or name (F4) and type a phone number or name. If the person is new, click New customer, fill in Name, Mobile and the type (Retail or Wholesale) and click Add customer.
The customer card shows their Due, Credit limit and Points.
- Wholesale customers get the wholesale price automatically, if the owner turned that on. A price you typed by hand isn't changed.
- Loyalty points: below the total you see Earns N points. If the customer has enough points, Redeem points (N available) lets you take them off the bill. By default 1 point is earned per ৳100, 1 point is worth ৳1 and at least 50 points are needed to redeem. The owner sets these in Settings.
Payment: cash, bKash, card and split
Pay (F9) opens the payment window. Cash received starts filled with the full amount, with quick buttons for common notes.
For bKash, Nagad, Rocket, card or bank, type the amount in that tile with the TrxID (for a card, Last 4; for a bank, Ref.). Rest fills the remaining amount in that tile.
Example of a split payment: the bill is ৳1,200 and ৳500 comes by bKash.
- In the bKash tile type
500and the TrxID. - Change Cash received to
700. - Check that Paid is ৳1,200 and Due is 0, then press Complete sale (Enter).
Selling on due (baki)
To leave part of the bill as a due, lower the paid amount. The Due line shows what is left and the button changes to Complete with due (Enter).
- A due needs a customer: Select a customer to leave a due (baki).
- A due can't take the customer over their credit limit. A credit limit of 0 means No credit allowed.
- A manager or the owner can tick Manager override: allow this due.
Collecting the money later is in Customers and dues.
Hold and recall a bill
If a customer steps away to fetch one more item, press F8 (Hold). The bill is parked and the screen clears for the next customer. To bring it back, press F10 or click Held (N), then Recall. Finish or hold the current bill first; recall is off while the bill has items. The bin icon deletes a held bill.
Receipts and printing
After the sale, press P (Print (P)). Tick Print the receipt automatically to print every sale without asking; the browser remembers this, and it also opens the cash drawer if one is connected.
The receipt can be 80 mm, 58 mm or an A4 invoice. The owner chooses the default paper, receipt language, header and footer in Settings and connects a thermal printer in Printers, labels & scale. You can reprint any receipt from Sales history.
Keyboard shortcuts
Press F1 on the POS to see these at any time.
| Key | What it does |
|---|---|
F2 | Scan box / product search |
↑ ↓ then Enter | Pick from the search list |
F4 | Customer |
F8 | Hold the bill |
F9 | Pay |
F10 | Held bills |
Ctrl + Del | Clear the bill |
Esc | Close a window |
P / Enter | After a sale: print / next sale |
On a phone
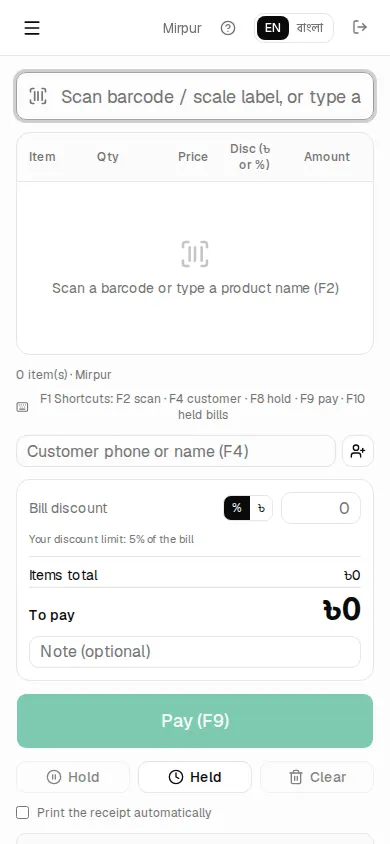
The POS also works on a phone, which is handy for a second counter or for checking a price on the floor.